Views: 0 Author: Site Editor Publish Time: 2026-09-22 Origin: Site
Brake performance drops as friction components wear down over thousands of miles. Declining pedal feel, steering wheel vibrations, and increased stopping distances are early warning signs. However, objective measurement remains the only reliable indicator of system health. Replacing rotors prematurely wastes maintenance budgets. Ignoring wear limits risks catastrophic brake failure, caliper over-extension, and severe thermal fade under heavy load. This guide provides a technical framework for accurately measuring brake disc thickness. You will learn how to locate manufacturer minimums, bypass common measurement errors caused by rust ridges, and make an evidence-based decision on whether to resurface or replace your components. We cover the exact tools needed, the physics of thermal mass, and the step-by-step protocols used in professional bays to evaluate rotor health.
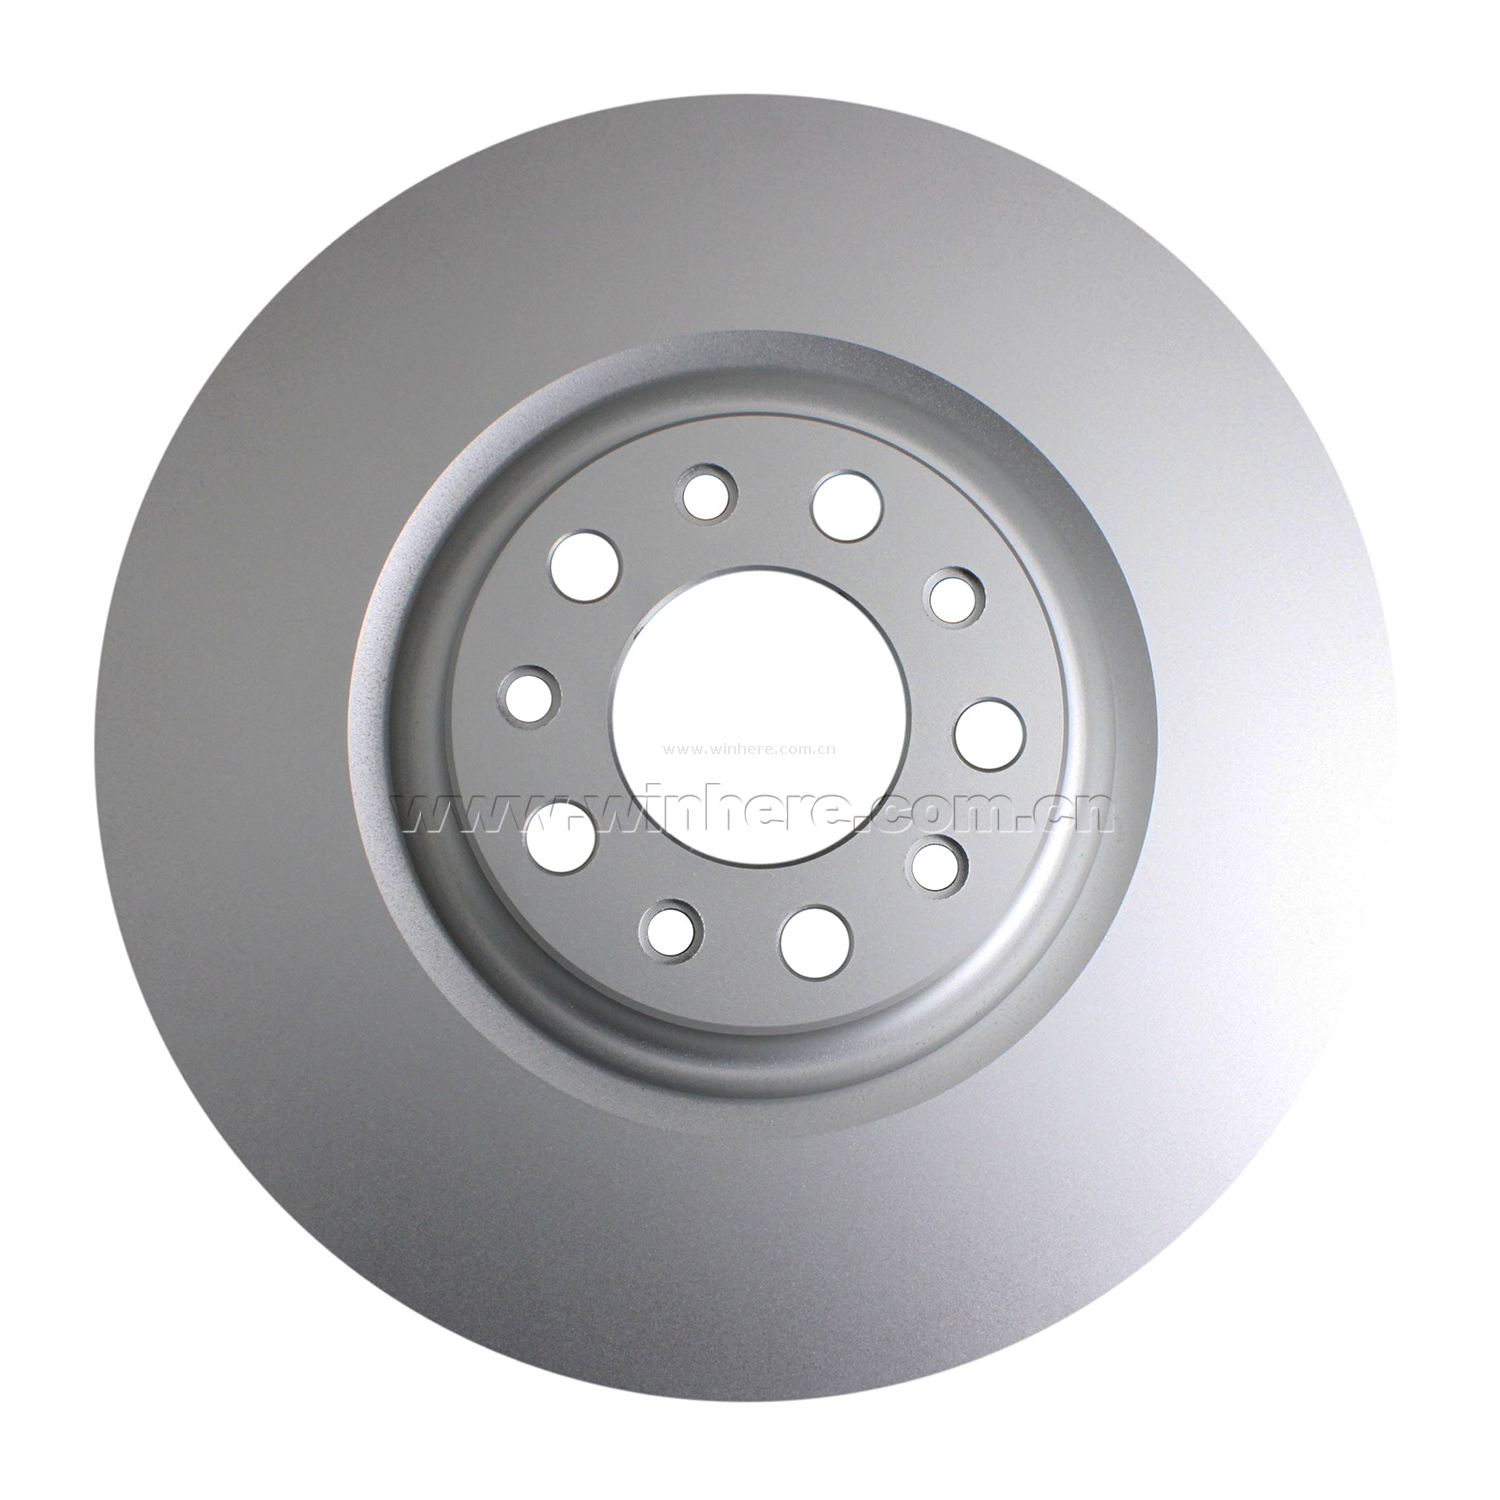
Minimum thickness (Min TH) is a strict engineering and safety limit, not a suggestion. It is typically stamped directly on the brake disc hub or outer edge.
Accurate measurement requires a specialized brake rotor micrometer, rotor gauge, or a calibrated vernier caliper, taking readings at multiple points to locate the absolute thinnest point on the friction surface.
Operating below minimum thickness severely compromises the disc's thermal mass, increasing the risk of warping, cracking, and brake fluid boil.
Resurfacing (machining) is only a viable solution if the final post-cut thickness remains safely above the manufacturer's minimum specification.
Table of Contents
Brake discs convert vehicle movement into heat through friction. The thickness of the disc determines how much heat it can absorb and release. As the disc wears thinner, it loses heat capacity and reaches high temperatures faster, which can transfer excessive heat to the brake pads, calipers, and brake fluid.
A brake disc below its minimum thickness loses both strength and reliability. Excessive wear can cause caliper piston over-extension, brake fluid leaks, and reduced braking force. Thin discs are also more likely to crack under heavy braking or sudden temperature changes, creating serious safety risks.
Thin brake discs are more likely to overheat, causing brake fade and reduced stopping performance. Uneven heating and cooling can also create surface distortion, leading to brake vibration, steering wheel shaking, and uneven pad contact. Maintaining proper disc thickness helps ensure stable braking performance.
The minimum thickness (Min TH) mark shows the replacement limit of a brake disc. Manufacturers usually engrave this value on the rotor edge, hub area, or inside the cooling vanes of vented discs. If rust or brake dust covers the marking, clean it carefully with a wire brush and brake cleaner. Avoid aggressive grinding tools that may remove the specification.
Brake disc thickness limits vary by vehicle type, weight, and braking requirements. A truck rotor and a compact car rotor have different safety standards, so general thickness rules should not be used. Always check the marking on the disc or refer to the vehicle manufacturer's service manual before deciding whether the rotor can continue working or needs replacement.
Vehicle Type | Typical Nominal (New) Thickness | Typical Discard Thickness | Total Allowable Wear |
|---|---|---|---|
Compact Commuter (Solid Rear) | 10.0 mm | 8.0 mm | 2.0 mm |
Mid-Size Sedan (Vented Front) | 25.0 mm | 23.0 mm | 2.0 mm |
Half-Ton Pickup Truck (Vented Front) | 34.0 mm | 31.5 mm | 2.5 mm |
High-Performance Sports Car (Front) | 36.0 mm | 34.0 mm | 2.0 mm |
Understanding the "wear window" is mandatory for brake maintenance. The wear window represents the total amount of material you can safely lose before the rotor becomes dangerous. For most standard automotive applications, this allowable wear is typically between 2mm and 3mm total. This means you only have about 1mm to 1.5mm of wear material per side.
Service manuals often list two distinct limits: "machine-to" thickness and "discard" thickness. The machine-to specification is slightly thicker than the discard limit. It ensures that if you resurface the rotor on a brake lathe, enough material remains to safely operate the vehicle until the next pad change. The discard thickness is the absolute floor. If the rotor measures at or below this number, it belongs in the scrap pile immediately.
Standard measuring tools fail in brake service applications. As brake pads wear down the center of the rotor face, they leave an unworn ridge of rusty metal along the outer edge. A standard tape measure or ruler is entirely unacceptable for measuring tolerances down to the tenth of a millimeter.
A standard vernier caliper also struggles here. The flat jaws of a standard caliper will rest on the outer rust ridge, giving you a falsely thick reading. To get an accurate measurement, you must use a specialized brake rotor micrometer or a rotor gauge. These tools feature pointed or offset anvils designed specifically to bypass the rust lip and reach the actual friction surface. Digital micrometers provide a distinct advantage over analog versions by eliminating parallax errors and offering precise, easily readable measurements.
Measurement Tool | Suitability for Brake Rotors | Limitations |
|---|---|---|
Digital Rotor Micrometer | Excellent | Requires calibration before use. |
Analog Rotor Micrometer | Excellent | Requires manual reading of the thimble scale. |
Standard Vernier Caliper | Poor | Flat jaws catch on the rust ridge, skewing data. |
Tape Measure / Ruler | Unacceptable | Lacks the precision required for millimeter tolerances. |
Accurate measurement requires proper preparation. Remove the wheel, clean the brake disc surface, and calibrate the micrometer before testing. Measure the braking surface away from the outer rust edge and take multiple readings around the disc. The lowest measurement should be used as the final thickness value to determine whether the disc is safe to continue using.
Multiple measurements help detect uneven wear, grooves, and surface damage. If thickness varies significantly across different areas, the disc may cause brake vibration or uneven braking. Deep grooves should also be considered, as they reduce the effective thickness of the brake disc and may require resurfacing or replacement.
If your lowest measurement sits well above the stamped minimum thickness, you have options. Inspect the surface finish. If the rotor face is smooth, lacks deep scoring, shows no signs of blue heat spots, and the driver reports no steering wheel vibration, a "pad slap" is viable. This means you can safely install new brake pads without machining or replacing the rotor. The existing surface will bed in with the new pads relatively quickly. You should still clean the rotor face with a scuff pad and brake cleaner to remove old friction material deposits.
Rotors with deep grooves, heavy glazing, or measurable lateral runout require resurfacing on a brake lathe. However, you must perform a mathematical check before cutting metal. Use this framework:
Current Thickness - Depth of Deepest Groove - Machining Allowance = Final Thickness.
The machining allowance accounts for the metal the lathe removes to create a perfectly flat, parallel surface. This usually requires removing at least 0.5mm to 0.8mm of material. If your calculated Final Thickness drops below the manufacturer's Min TH, you cannot legally or safely machine the rotor. Replacement becomes mandatory. Machining a rotor below the discard limit is a severe safety violation.
Measurement Scenario | Surface Condition | Action Required |
|---|---|---|
Well above Min TH | Smooth, no runout, no deep grooves | Install new pads (Pad Slap) |
Above Min TH | Scored, grooved, or slight vibration | Calculate machining allowance. Resurface if safe. |
Within 0.5mm of Min TH | Any condition | Preemptive replacement recommended |
At or Below Min TH | Any condition | Mandatory Replacement |
If your micrometer reading matches or falls below the discard thickness, establish a strict protocol for mandatory replacement. Do not attempt to machine the rotor. Do not install new pads on it. The component has exhausted its engineered lifespan.
Delaying replacement when limits are breached represents a dangerous false economy. Trying to squeeze another few thousand miles out of a condemned rotor drastically increases the risk of complete brake failure. It also guarantees poor performance from your newly installed brake pads, as they cannot properly interface with a severely degraded surface. The pads will wear unevenly and require premature replacement themselves.
Pushing rotors past their discard limits triggers a cascade of secondary component damage. As the thin rotor superheats, that thermal energy transfers into the wheel hub. This bakes the grease inside the wheel bearings, leading to premature bearing failure. The heat also degrades the rubber dust boots on the caliper pistons, causing them to crack and seize. A seized caliper will drag the brake pad against the rotor constantly, generating even more heat and destroying the new pads in a matter of days.
Beyond mechanical damage, consider the liability and safety compliance failures. In the event of a collision, insurance investigators and forensic mechanics routinely inspect braking components. Operating a vehicle with rotors worn past the legal discard limit constitutes severe negligence. It compromises the safety of the vehicle occupants and everyone else on the road.
When replacement becomes necessary, choosing the right component ensures long-term reliability. Evaluate the trade-offs based on your intended vehicle use. For daily driving and standard commuting, OEM-equivalent blank rotors offer the best balance of longevity, quiet operation, and cost-effectiveness. Blank rotors provide the maximum amount of surface area for the brake pad to grip.
If you use the vehicle for towing, hauling heavy loads, or track days, consider aftermarket upgrades. Slotted rotors help wipe away brake dust and outgassing, maintaining a clean friction surface. Cross-drilled rotors offer enhanced initial bite in wet conditions, though they are more prone to cracking under extreme track temperatures. Pay close attention to metallurgy. High-carbon cast iron rotors provide superior thermal stability, dampening vibrations and resisting warping far better than standard economy iron.
Installing new rotors and pads is only the first step. You must perform a strict final procedure known as bedding-in. Bedding-in establishes a proper, uniform pad transfer layer on the new brake disc. This microscopic layer of friction material adheres to the bare iron, ensuring smooth, quiet operation and maximizing stopping power.
Skip this step, and you risk uneven pad deposits. Uneven deposits create high spots on the rotor face, which mimic the symptoms of a warped rotor and cause severe judder. Follow this general bed-in procedure if the manufacturer does not provide one:
Accelerate the vehicle to 40 mph in a safe, open area.
Apply moderate brake pressure to slow the vehicle down to 10 mph. Do not come to a complete stop.
Repeat this process 4 to 5 times to gradually build heat in the rotors.
Accelerate to 50 mph and apply aggressive brake pressure to slow down to 15 mph. Repeat this 4 to 5 times. You may smell the brakes getting hot; this is normal.
Drive the vehicle at highway speeds for 10 minutes with minimal braking to allow the rotors to cool down evenly. Never park the car with hot brakes, as the pads will imprint on the rotor face.
Take the following actions to secure your braking system:
Procure a specialized digital rotor micrometer designed to bypass edge rust.
Measure all four corners of the vehicle, taking readings at 8 points per rotor to find the absolute thinnest spots.
Locate and clean the stamped Min TH on each rotor, or consult the OEM service manual for exact specifications.
Source high-quality, OEM-equivalent replacement components immediately if your measurements meet or fall below the discard limits.
A: Operating below the minimum thickness drastically reduces the rotor's ability to dissipate heat. This leads to brake fade, boiling brake fluid, and warped rotors. It also risks caliper piston over-extension, which can cause hydraulic leaks and complete brake failure.
A: No. Accurate measurement requires direct, unobstructed access to the friction surface. You must remove the wheel to properly position a micrometer past the outer rust ridge and take multiple readings around the perimeter.
A: The acceptable wear window varies by vehicle, but it is typically between 2mm and 3mm of total material loss from the nominal new thickness. Always refer to the stamped minimum thickness for exact limits.
A: Manufacturers usually stamp the "Min TH" specification on the outer circumference edge, the central hub collar, or inside the cooling vanes. You may need a wire brush to clean away rust and brake dust to read it.
A: If the discs are at or near minimum thickness, deeply scored, or warped, you must replace them alongside the pads. If the discs are smooth and well above minimum thickness, you can safely replace just the pads.
A: A standard caliper has flat jaws that catch on the unworn rust ridge at the rotor's edge, giving a falsely thick reading. A rotor gauge features pointed or offset anvils designed to bypass the lip and measure the actual friction surface.
A: No. Resurfacing removes metal. If calculating the current thickness minus the required machining allowance results in a number below the minimum thickness, the rotor cannot be safely machined and must be replaced.